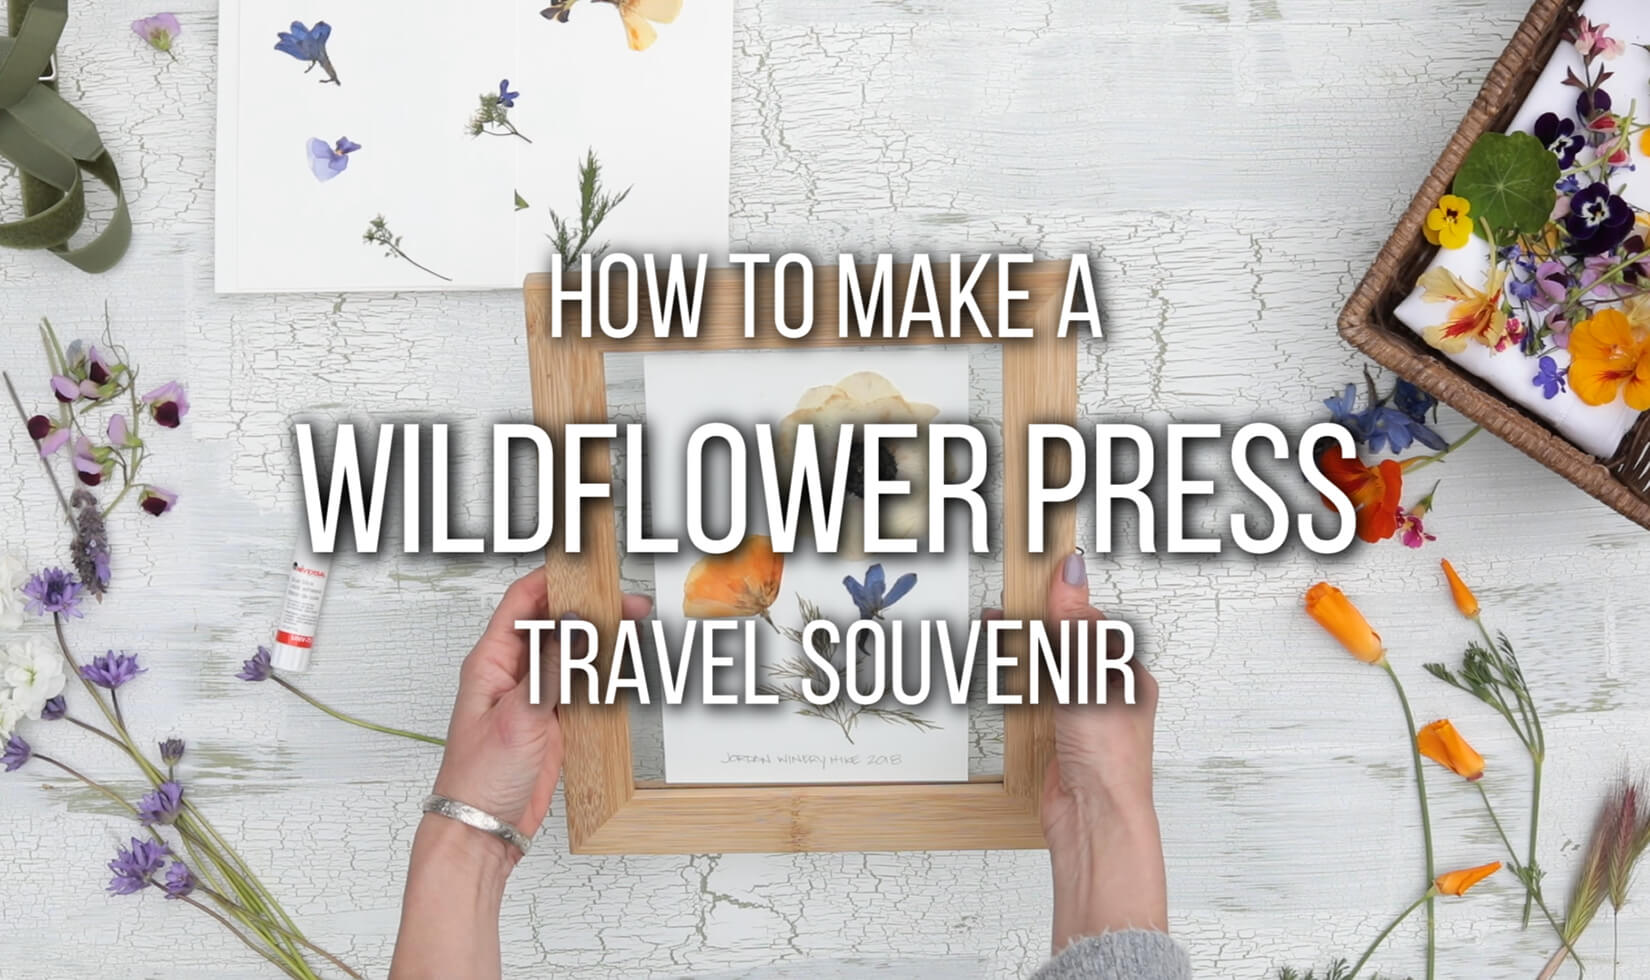
Spring is my favorite season in wine country, and it’s not just because grapevine buds are back. The green hills of Sonoma County burst with wildflowers this time of year, creating a carpet of pinks, yellows, whites and purples for miles. I like to capture the season of new beginnings by pressing flowers. A flower press is one of the easiest and most memorable travel souvenirs you can make for loved ones or yourself. We created this How to Press Flowers on Paper video to encourage vineyard hike guests visiting Jordan Winery to pick wildflowers and make their own pressed flower pictures at home. It’s a simple, inexpensive way to remember your vacation or just an outing in nature.
This DIY craft video also shows you how to press flowers to create a picture to hang on your wall. But here are some tips to make sure your project turns out perfectly: 1) Freshness is the key — the faster you can start the process after picking, the better; 2) remove the lower leaves and keep a few closer to the bud for visual appeal; and 3) flowers with naturally flat blooms are the easiest to press — for thicker flowers like roses, cut them in half, then press.
Here’s a list of materials used in the video with purchase links.
Materials for How to Press Flowers on Paper
- 7 x 9 Nature Press Flower Press Book – available on Amazon
- 8 x 10 Picture Frame (bamboo pictured in video) – available at Michael’s
- 7 x 9 Blotter Paper Refill Sheets – available on Amazon
- Elmer’s Disappearing Glue Stick – available on Amazon
- Beautiful wildflowers
- A basket to collect flowers
- Scissors or clippers for harvesting flowers
How to Press Flowers
- Open the flower photo press book by removing the straps and stacking the cardboard and cover into a second pile.
- Place the back of the press book on the surface.
- Take one piece of cardboard and cover with one piece of blotter paper.
- Lay wildflowers on the paper. For larger flowers, remove the stems. Leaves or grasses could also be added for contrast.
- Cover with another piece of paper and another piece of cardboard.
- Repeat steps 3-6 for the remaining pieces of cardboard. Alternate placement of wildflower tops to keep the press even.
- Cover with the top of the press book and straighten. Fasten the straps back on to the press book.
- Wait up to two weeks for the wildflowers to dry. Store at room temperature in a dry environment and tighten the straps every few days.
- When ready, remove the straps from the press book and separate the cardboard from the pressed wildflowers on paper.
- On a piece of paper, make circles using the glue stick.
- Choose your favorite dried wildflowers and place them on the glue circles.
- When complete, remove the back from the picture frame and center within the frame. Fasten the back to the frame and display.
Mount your pressed flower picture on the wall, stand back and admire your work.
See more of our floral design videos and blog posts.


